qidao123.com技术社区-IT企服评测·应用市场
标题:
关于window版本nacos版本安装过程
[打印本页]
作者:
王國慶
时间:
2025-3-30 20:57
标题:
关于window版本nacos版本安装过程
环境
window10 16G 1TB
下载地址
window版本zip包 https://github.com/alibaba/nacos/releases/download/2.5.1/nacos-server-2.5.1.zip
Linux版tar包 https://github.com/alibaba/nacos/releases/download/2.5.1/nacos-server-2.5.1.tar.gz
安装前提
安装jdk 1.8及以上,我安装了openJDK17
地址:https://github.com/adoptium/temurin17-binaries/releases
安装过程
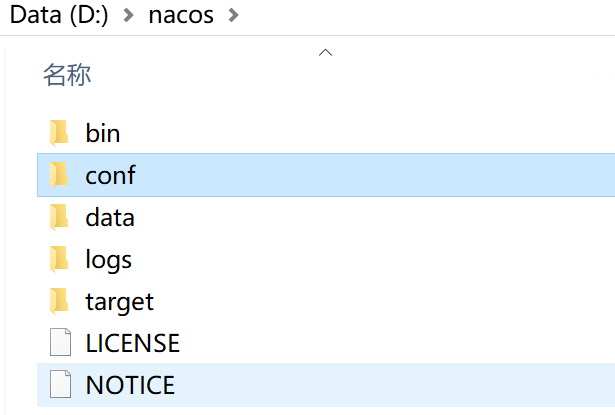
1、解压压缩包
2、启动方式
默认设置为集群模式如果要直接启动方式有两种
单机模式
在bin目录下直接双击startup.cmd启动,但必要修改其中的内容,将set MODE="cluster"修改为set MODE="standalone";或者在cmd中进入到bin目录下使用命令“startup.cmd -m standalone”使用单机模式启动,-m的意思是使用指定模式启动。
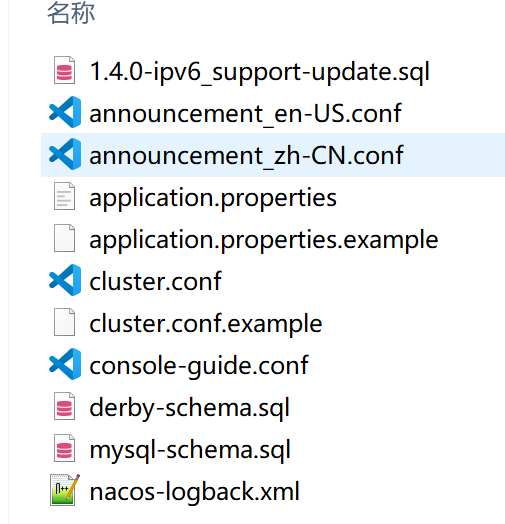
集群模式
使用集群模式必要修改两个地方,首先先将conf中的cluster.conf.example复制一份然后重命名为cluster.conf,在其中按照下面的格式修改为自己的
#cluster.conf<br>192.168.1.1:8848
192.168.1.2:8848
192.168.1.3:8848
复制代码
然后修改conf下的application.properties文件,集群其他呆板也一样,除了db.num数字不同
#application.properties<br>#启动端口号<br>server.port=8848
#使用的类型
spring.sql.init.platform=mysql
#每台机子的ID,应该每台机子都不一样
db.num=1
#数据库持久化连接
db.url.0=jdbc:mysql://127.0.0.1:3306/nacos?characterEncoding=utf8&connectTimeout=1000&socketTimeout=3000&autoReconnect=true&useUnicode=true&useSSL=false&serverTimezone=Asia/Shanghai
db.user.0=root
db.password.0=123456
复制代码
如果必要安全性验证请根据下面的设置,集群其他呆板也一样
### The auth system to use, currently only 'nacos' and 'ldap' is supported:<br>### 鉴权类型
nacos.core.auth.system.type=nacos
### If turn on auth system:<br>### 开启鉴权
nacos.core.auth.enabled=true
### Turn on/off caching of auth information. By turning on this switch, the update of auth information would have a 15 seconds delay.<br>### 开启缓存
nacos.core.auth.caching.enabled=true
### Since 1.4.1, Turn on/off white auth for user-agent: nacos-server, only for upgrade from old version.
nacos.core.auth.enable.userAgentAuthWhite=false
### Since 1.4.1, worked when nacos.core.auth.enabled=true and nacos.core.auth.enable.userAgentAuthWhite=false.
### The two properties is the white list for auth and used by identity the request from other server.<br>### 下面连个参数必填不填会出错,默认填写这个即可
nacos.core.auth.server.identity.key=example
nacos.core.auth.server.identity.value=example
### worked when nacos.core.auth.system.type=nacos
### The token expiration in seconds: 未开启token缓存,如需开启请根据官网参数修改,超时时间为默认
nacos.core.auth.plugin.nacos.token.cache.enable=false
nacos.core.auth.plugin.nacos.token.expire.seconds=18000
### The default token (Base64 String): 默认key随便填写,只要base64前的字符超过32位即可<br>### sPyFBvt@RGiwaVmxh3C7d$4EXsadhr31<br><em id="__mceDel">nacos.core.auth.plugin.nacos.token.secret.key=c1B5RkJ2dEBSR2l3YVZteGgzQzdkJDRFWHNhZGhyMzE=</em>
复制代码
在bin目录下直接双击startup.cmd启动,其中的内容不必要改动,文件中的设置应该为set MODE="cluster"
上面设置文件设置了持久化数据库,下面在mysql数据库中创建
CREATE DATABASE `nacos` /*!40100 DEFAULT CHARACTER SET utf8mb4 COLLATE utf8mb4_general_ci */
复制代码
创建完成后执行在conf目录下的mysql-schema.sql数据库文件
然后启动即可
3、错误排除
Nacos:errCode: 102, errMsg: dataSource or tableName is null
检查设置文件是否与我上面的同等,此题目一样平常是没有毗连上持久化数据库导致,检察是否已经导入sql\
nacos启动报org.
springframework
.context.ApplicationContextException: Unable to start web server; nested exception is org.springframework.boot.web.server.WebServerException: Unable to start embedded Tomcat错误
使用了集群模式但是没有设置上述设置,修改设置或者按照上述模式修改为单机模式即可
免责声明:如果侵犯了您的权益,请联系站长,我们会及时删除侵权内容,谢谢合作!更多信息从访问主页:qidao123.com:ToB企服之家,中国第一个企服评测及商务社交产业平台。
欢迎光临 qidao123.com技术社区-IT企服评测·应用市场 (https://dis.qidao123.com/)
Powered by Discuz! X3.4