众所周知,2024年9月微软正式公布了 .NET Core App 的 UWP 支持,至此我们终于可以在新版 csproj 用 .NET 8 及以上编写 UWP 了,那么我们可不可以通过修改清单的方式来让 UWP 变成 UAP 呢?
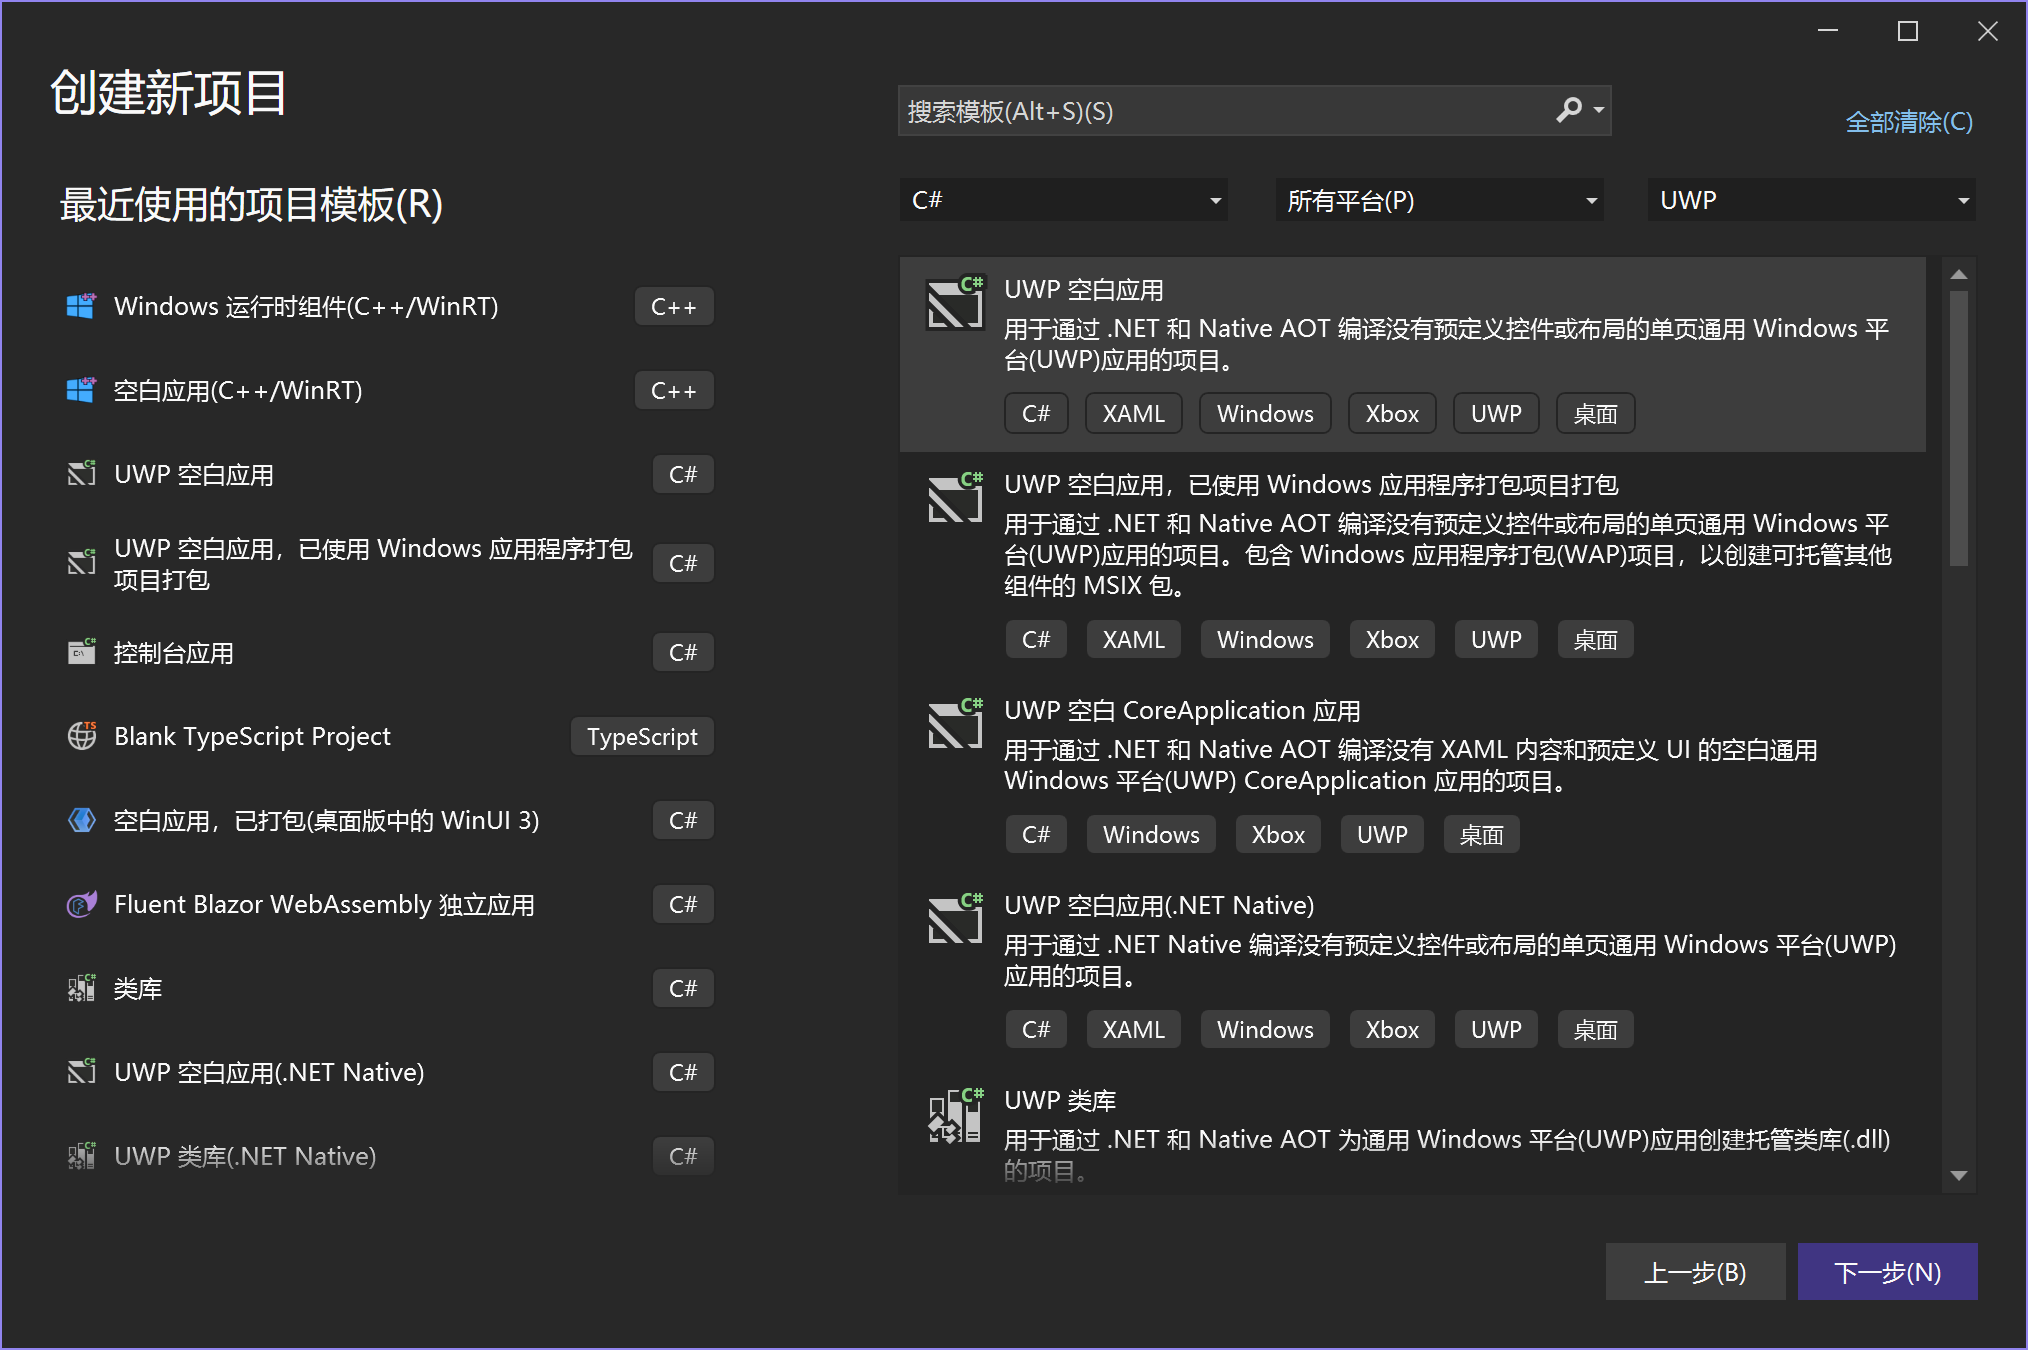
UWP 和 UAP 利用的是同一套 WinRT API ,Windows 区分 UAP 和 UWP 的方式是看清单,只要是用 UAP 的清单就会仿真成 Win8.1 模式,于是我们只需要将清单变成 UAP 的样子就行了。所以首先我们新建一个 .NET 9 Native AOT 的 UWP 项目
然后我们修改清单,Win8 App 清单如下,内容按需填写,Win8.1 App 的清单可以通过在 Github 搜刮OSMaxVersionTested language:XML找到,6.2是 Win8,6.3是 Win8.1 ($targetentrypoint$需配合 ApplicationEntryPoint利用)- <?xml version="1.0" encoding="utf-8"?>
- <Package xmlns="http://schemas.microsoft.com/appx/2010/manifest">
- <Identity
- Name="wherewhere.CoreAppUAP"
- Publisher="CN=where"
- Version="0.0.1.0" />
- <Properties>
- <DisplayName>CoreAppUAP</DisplayName>
- <PublisherDisplayName>wherewhere</PublisherDisplayName>
- <Logo>Assets\StoreLogo.png</Logo>
- </Properties>
- <Prerequisites>
- <OSMinVersion>6.2.0</OSMinVersion>
- <OSMaxVersionTested>6.3.0</OSMaxVersionTested>
- </Prerequisites>
- <Resources>
- <Resource Language="x-generate"/>
- </Resources>
- <Applications>
- <Application Id="App"
- Executable="$targetnametoken$.exe"
- EntryPoint="$targetentrypoint$">
- <VisualElements
- DisplayName="CoreAppUAP"
- Logo="Assets\MediumTile.png"
- SmallLogo="Assets\AppIcon.png"
- Description="CoreAppUAP"
- ForegroundText="light"
- BackgroundColor="transparent">
- <DefaultTile WideLogo="Assets\WideTile.png"/>
- <SplashScreen Image="Assets\SplashScreen.png"/>
- <InitialRotationPreference>
- <Rotation Preference="landscape"/>
- <Rotation Preference="portrait"/>
- <Rotation Preference="landscapeFlipped"/>
- <Rotation Preference="portraitFlipped"/>
- </InitialRotationPreference>
- <LockScreen Notification="badgeAndTileText" BadgeLogo="Assets\BadgeLogo.png"/>
- </VisualElements>
- </Application>
- </Applications>
- <Capabilities>
- <Capability Name="internetClient" />
- </Capabilities>
- </Package>
- <PropertyGroup>
- <AddMicrosoftVCLibsSDKReference>False</AddMicrosoftVCLibsSDKReference>
- <EnableAppxWindowsUniversalTargetDeviceFamilyItem>False</EnableAppxWindowsUniversalTargetDeviceFamilyItem>
- </PropertyGroup>
- <UsingTask
- TaskName="RemoveDependencies"
- TaskFactory="CodeTaskFactory"
- AssemblyFile="$(MSBuildToolsPath)\Microsoft.Build.Tasks.Core.dll">
- <ParameterGroup>
- <AppxManifestPath ParameterType="System.String" Required="true" />
- </ParameterGroup>
- <Task>
- <Reference Include="System.Xml" />
- <Reference Include="System.Xml.Linq" />
- <Using Namespace="System.Linq" />
- <Using Namespace="System.Xml.Linq" />
-
- <![CDATA[
- try
- {
- var xdoc = XDocument.Load(AppxManifestPath);
- var ns = xdoc.Root.Name.Namespace;
- var dependencies = xdoc.Root.Descendants(ns + "Dependencies");
- if (dependencies != null)
- {
- foreach (var node in dependencies.ToArray())
- {
- if (!node.HasElements)
- {
- node.Remove();
- }
- }
- }
- xdoc.Save(AppxManifestPath);
- }
- catch
- {
- Log.LogError("Failed to load Appx Manifest.");
- _Success = false;
- }
- ]]>
- </Code>
- </Task>
- </UsingTask>
- <Target
- Name="RemoveDependencies"
- AfterTargets="AfterGenerateAppxManifest">
- <Message Importance="high" Text="RemoveDependencies" />
- <RemoveDependencies AppxManifestPath="%(FinalAppxManifest.Identity)" />
- </Target>
首先我们需要添加DISABLE_XAML_GENERATED_MAIN来注释自动生成的入口点- <DefineConstants>$(DefineConstants);DISABLE_XAML_GENERATED_MAIN</DefineConstants>
- public static class Program
- {
- public static void Main(string[] args) => Application.Start(static p => _ = new App());
- }
- /// <summary>
- /// Provides a synchronization context for <see cref="CoreDispatcher"/>.
- /// </summary>
- /// <param name="dispatcher">The <see cref="CoreDispatcher"/> to associate this <see cref="CoreDispatcherSynchronizationContext"/> with.</param>
- public sealed class CoreDispatcherSynchronizationContext(CoreDispatcher dispatcher) : SynchronizationContext
- {
- /// <inheritdoc />
- public override void Post(SendOrPostCallback d, object? state)
- {
- ArgumentNullException.ThrowIfNull(d);
- _ = dispatcher.RunAsync(CoreDispatcherPriority.Normal, () => d.Invoke(state));
- }
- /// <inheritdoc />
- public override SynchronizationContext CreateCopy() => new CoreDispatcherSynchronizationContext(dispatcher);
- /// <inheritdoc />
- public override void Send(SendOrPostCallback d, object? state) => throw new NotSupportedException("'SynchronizationContext.Send' is not supported.");
- }
- protected override void OnWindowCreated(WindowCreatedEventArgs e)
- {
- if (SynchronizationContext.Current == null)
- {
- CoreDispatcherSynchronizationContext context = new(e.Window.Dispatcher);
- SynchronizationContext.SetSynchronizationContext(context);
- }
- base.OnWindowCreated(e);
- }
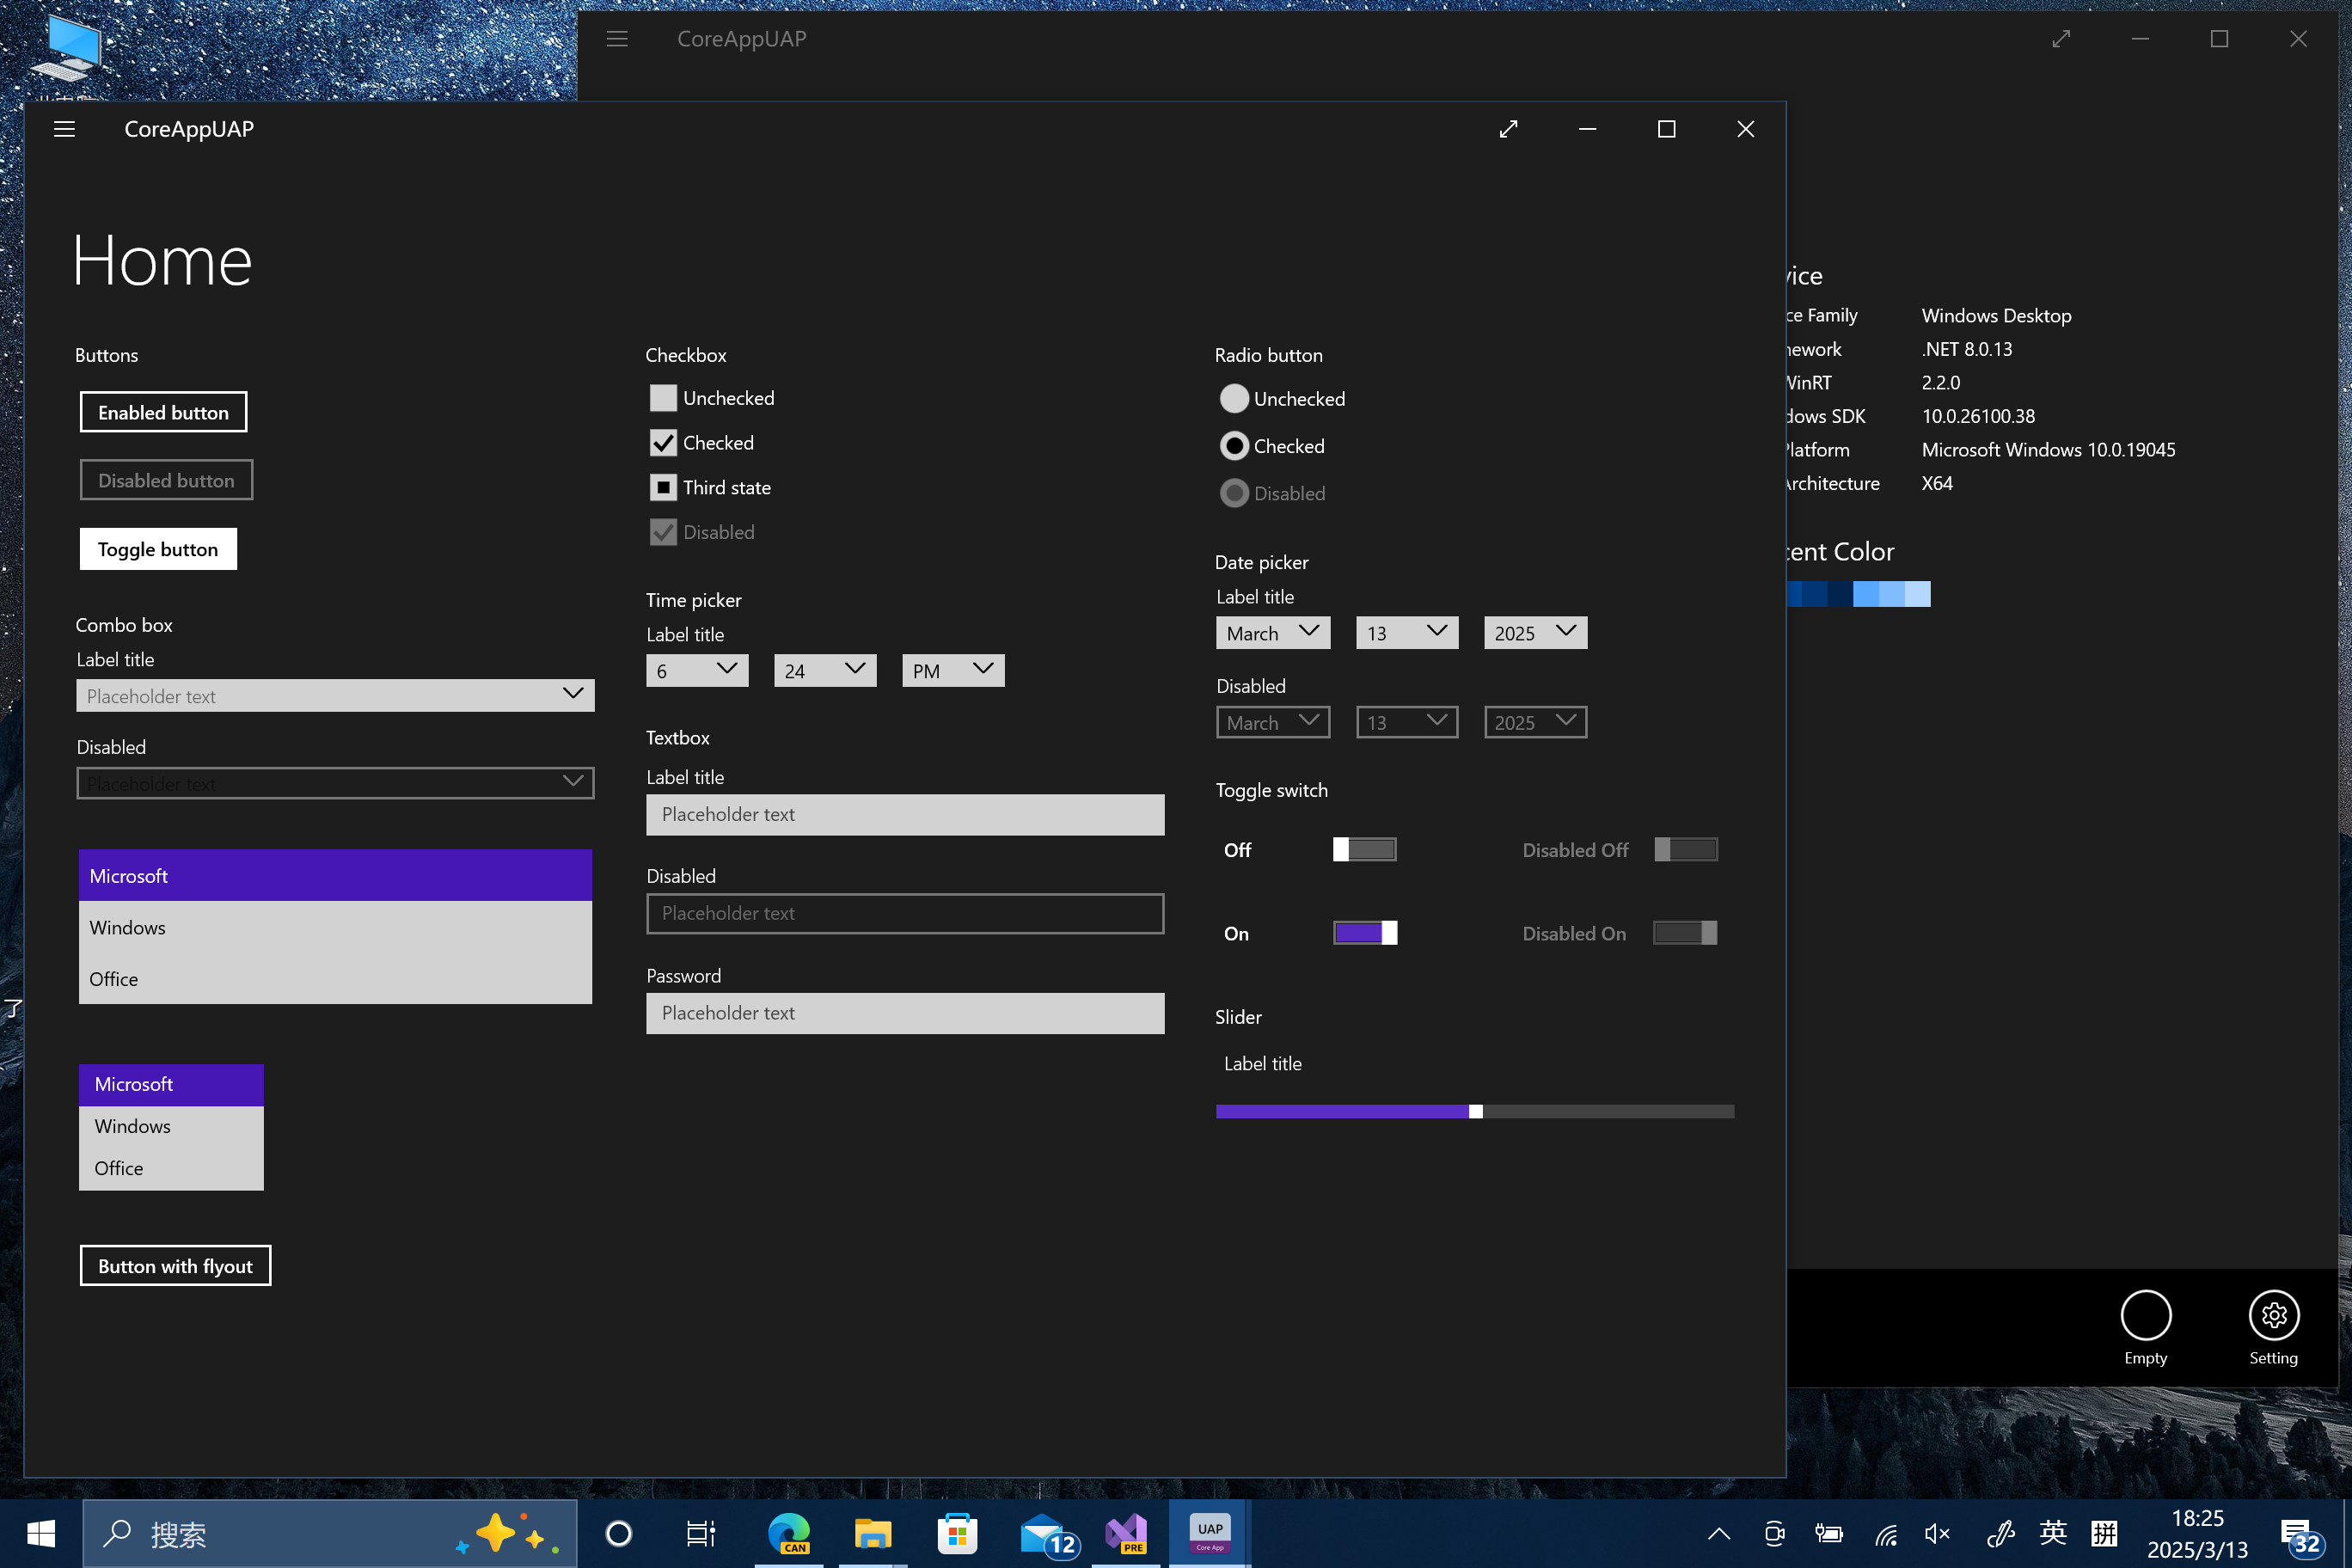
经测试,热重载等调试功能正常,UAP 可以调用一些与 UI 无关的新 WinRT API,乃至可以扩展标题栏,不过打包后无法成功在 Win8.1 安装,原因未知
末了附上示例应用:https://github.com/wherewhere/CoreAppUAP
免责声明:如果侵犯了您的权益,请联系站长,我们会及时删除侵权内容,谢谢合作!更多信息从访问主页:qidao123.com:ToB企服之家,中国第一个企服评测及商务社交产业平台。 |


